
Flooring & Trim
LVP Flooring Installation in South Florida
Click-lock luxury vinyl plank installed over a substrate that has been checked for flatness, with planned layout, clean transitions and proper expansion gaps.
Serving Palm Beach County·Broward County·Miami-Dade County
- Click-lock LVP installation: $3.10 per sq ft
- Floating-floor removal: $1.65 per sq ft
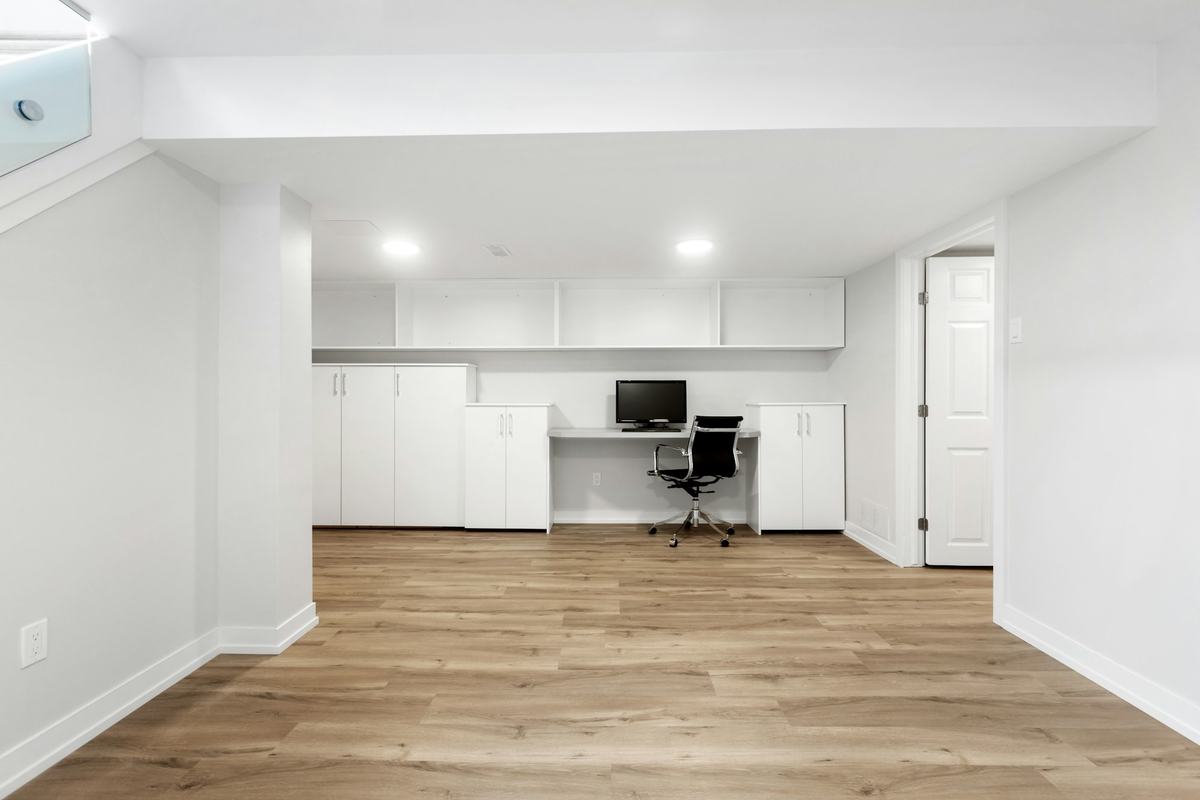
A click-lock floor is only as good as what it sits on. Planks lock to each other, not to the slab, so humps, dips and debris underneath show up later as joints that separate, edges that lift or a floor that flexes underfoot. Before we lay a single row, we check the substrate and tell you whether it needs correction.
Our public installation rate covers installing click-lock LVP over a suitable, flat substrate. Removing the old floor, leveling, and new baseboards are separate items so you can see what each part of the project costs. The flooring product itself is purchased separately unless your written estimate says otherwise.
Scope
What LVP installation includes
- Review of the flooring manufacturer's installation requirements for your product
- Substrate check for flatness, cleanliness and visible moisture concerns
- Layout planning so rows are balanced and narrow slivers at walls are avoided
- Undercutting of door casings and jambs so planks slide beneath them
- Installation of click-lock planks with staggered end joints
- Expansion gaps at walls and fixed objects, as the manufacturer requires
- Transitions at doorways and where the floor meets other flooring
- Clean-up and removal of installation waste and packaging
Preparation and installation
How we prepare and install
Confirm the product and its requirements
Every LVP product has its own rules for subfloor flatness, underlayment, acclimation and expansion gaps. We read them for your product and install to them.
Check the substrate
We sweep and scrape the floor, then check it with a straightedge. High spots, low spots, cracks and signs of moisture are noted and discussed with you before installation starts.
Correct what needs correcting
Where the substrate is outside the product's tolerance, it needs grinding, patching or leveling first. That work is itemized under concrete repairs and leveling.
Plan the layout
We measure the room and set the starting line so the first and last rows are a sensible width and the pattern runs cleanly through doorways.
Undercut and install
Casings are undercut, underlayment goes down where the product calls for it, and planks are installed row by row with staggered joints and consistent gaps.
Fit transitions and edges
Transition strips are fitted at doorways and changes of flooring. Perimeter gaps are left open for baseboard or shoe molding to cover.
Clean and review
The floor is cleaned, and we walk it with you to check joints, transitions and edges before furniture goes back.
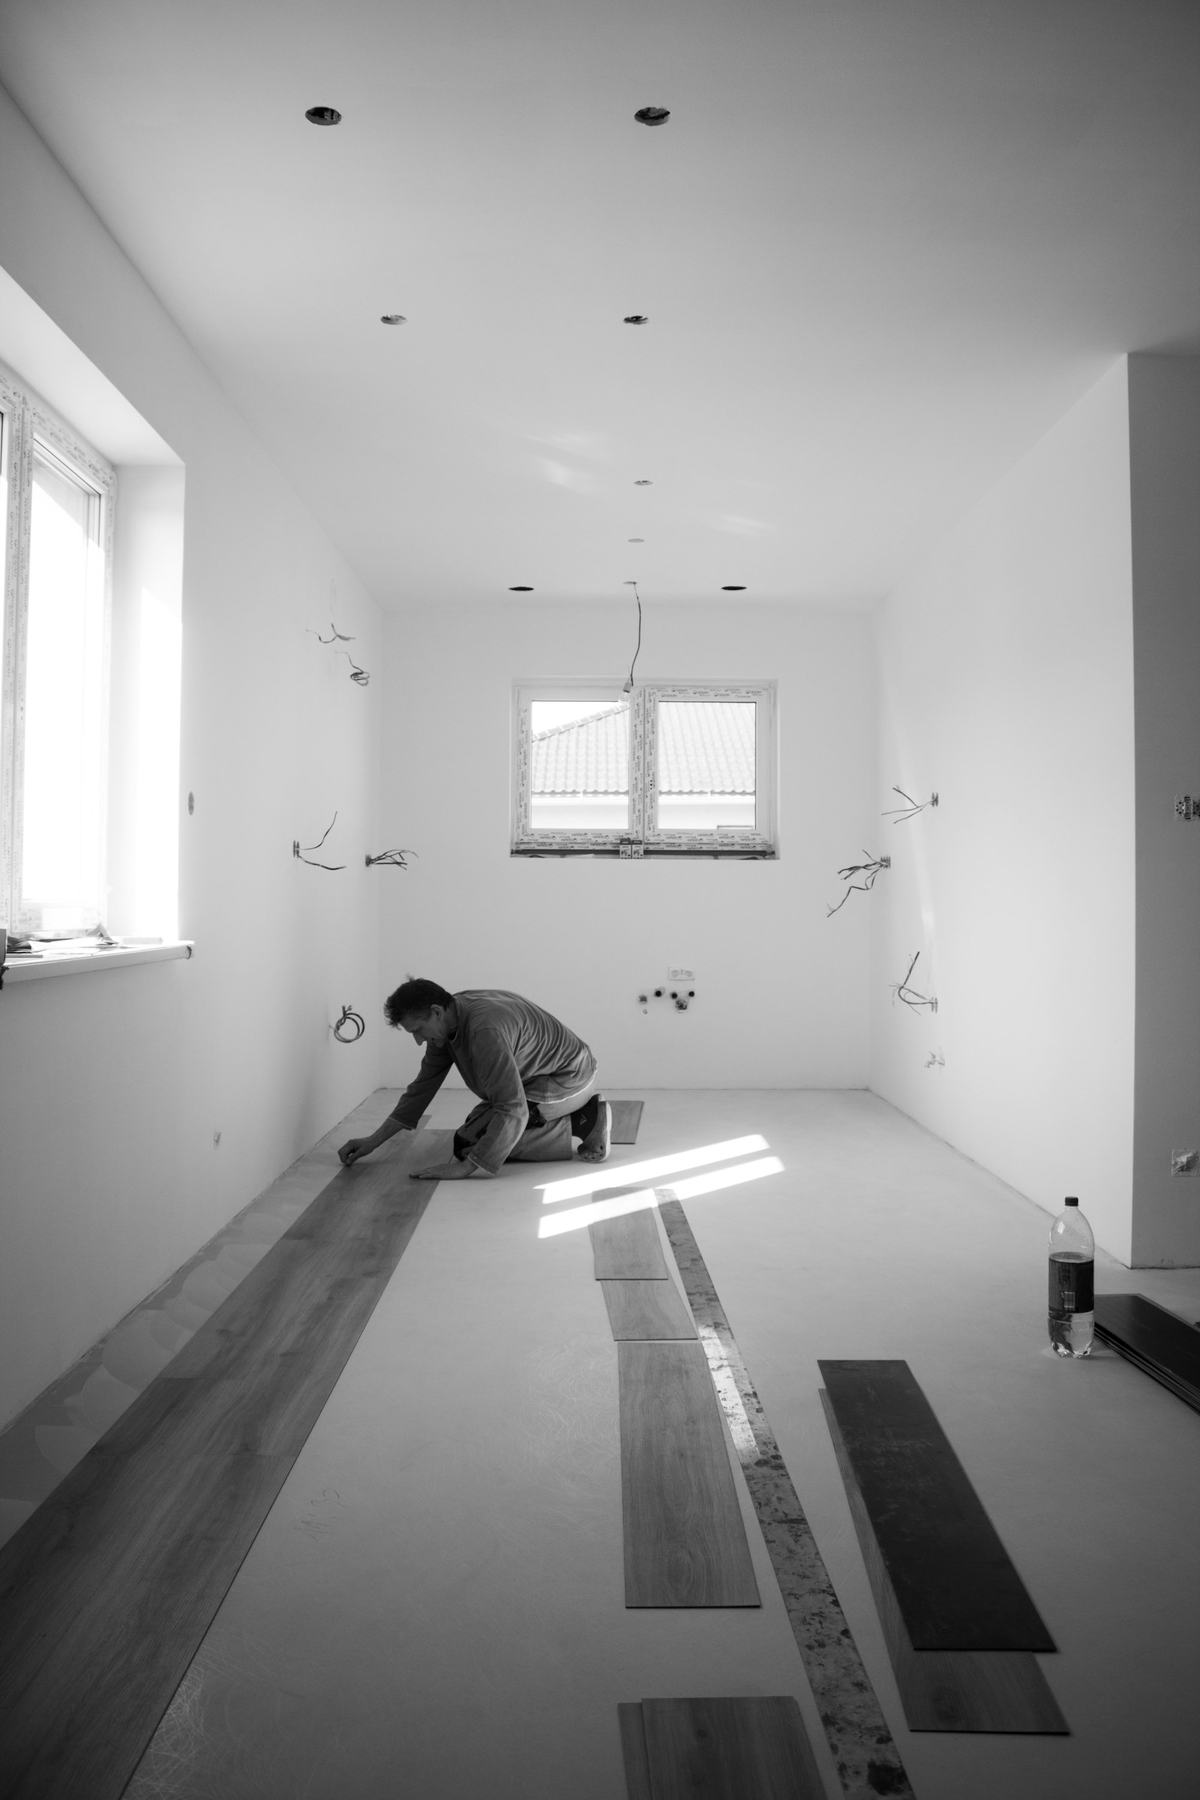
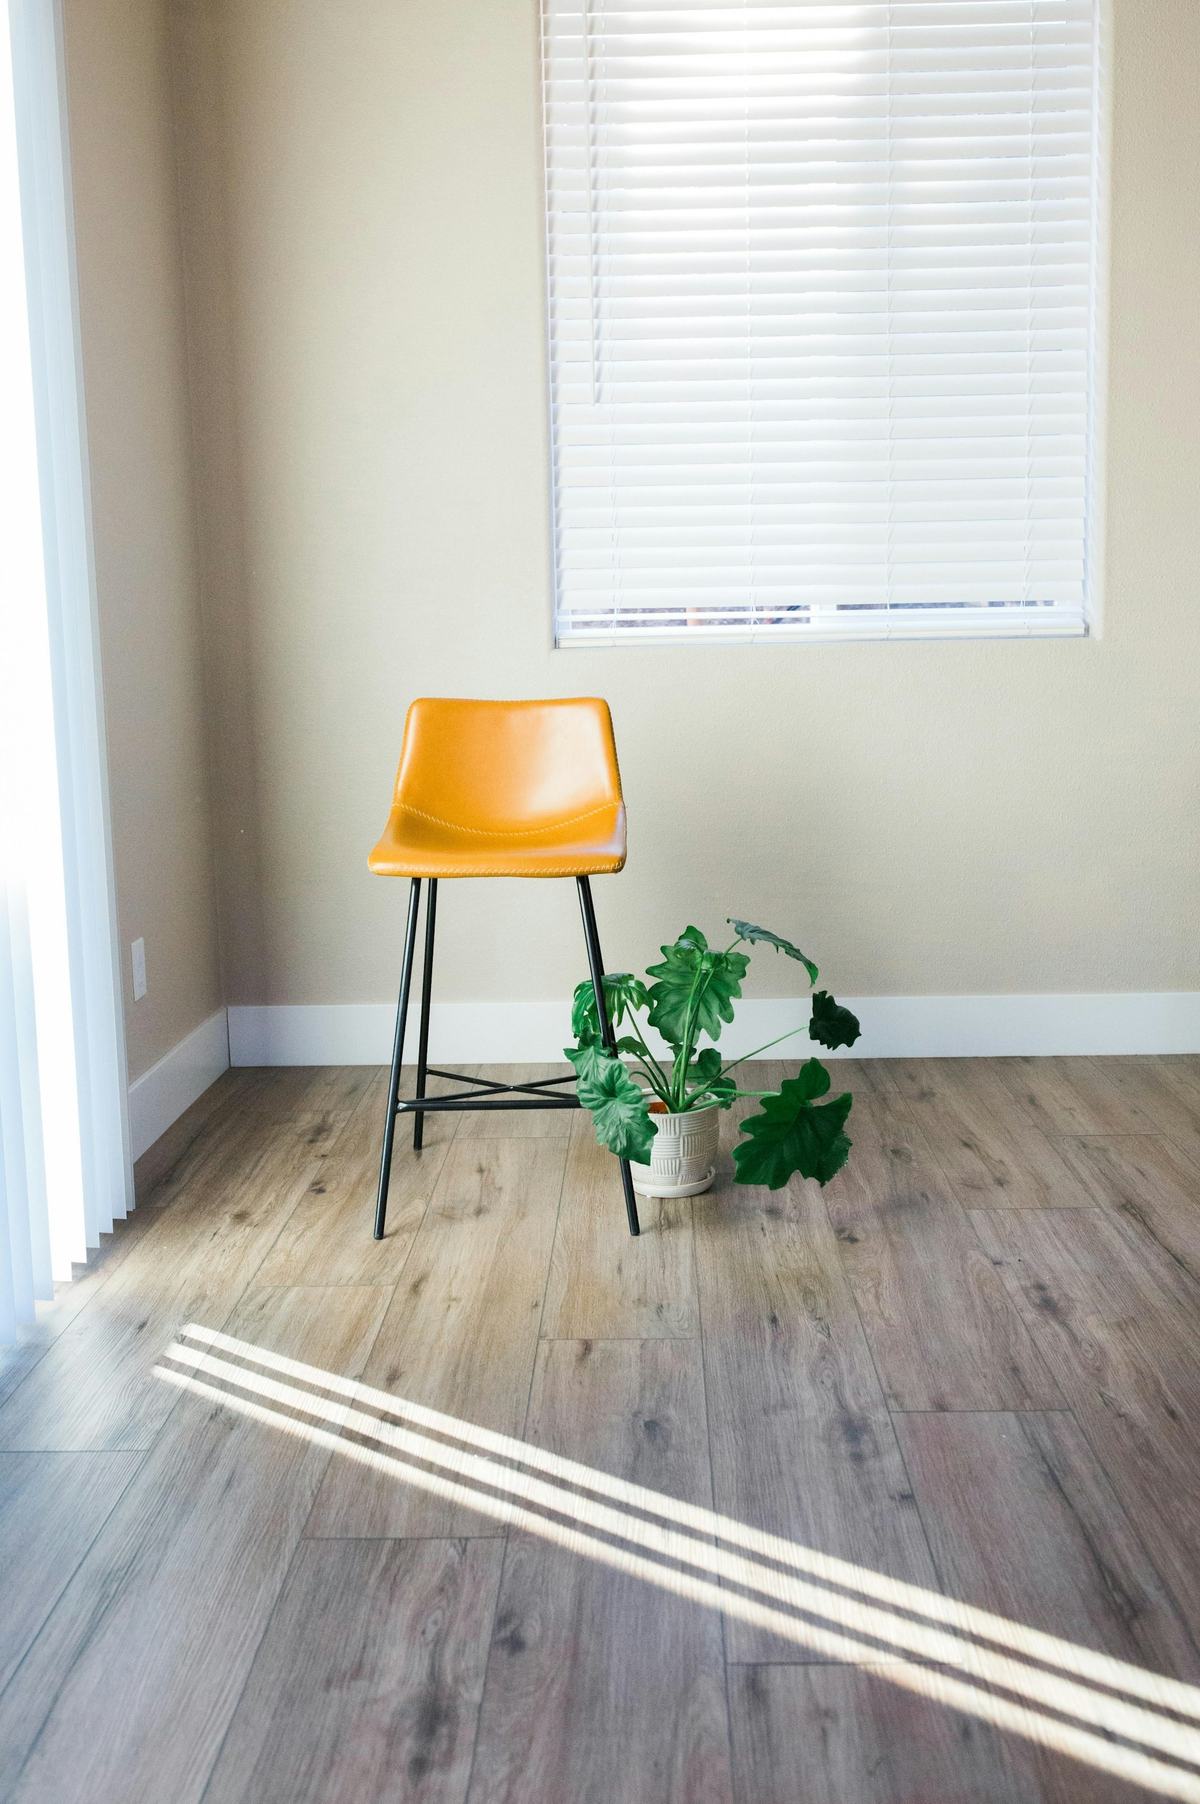
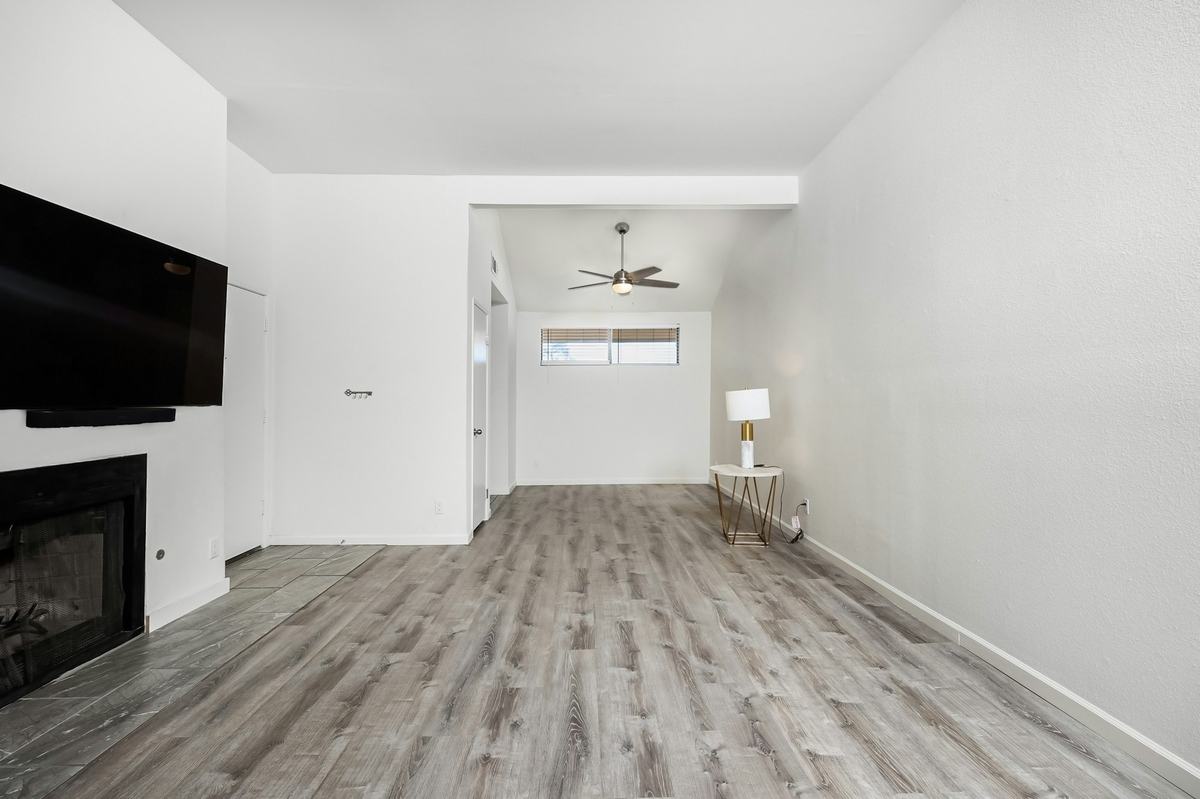
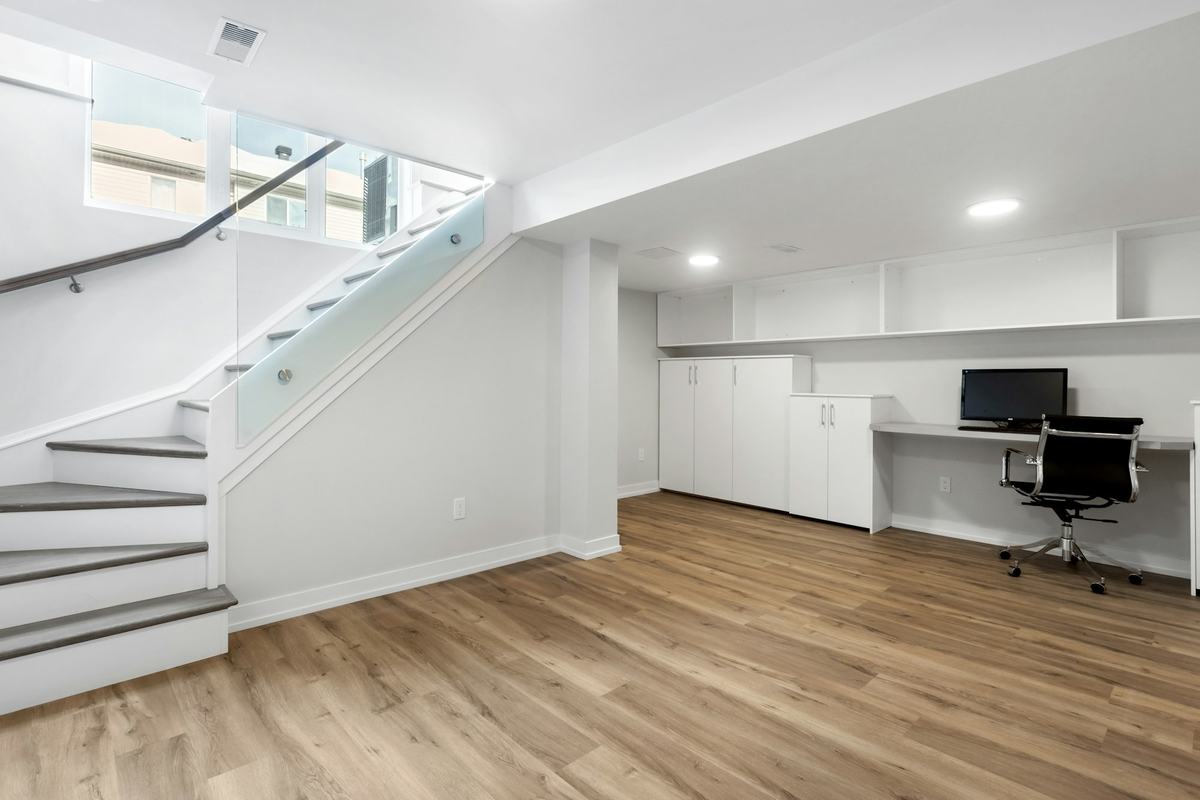
Images shown illustrate service and finish options.
Finish and system choices
Choices that affect the result
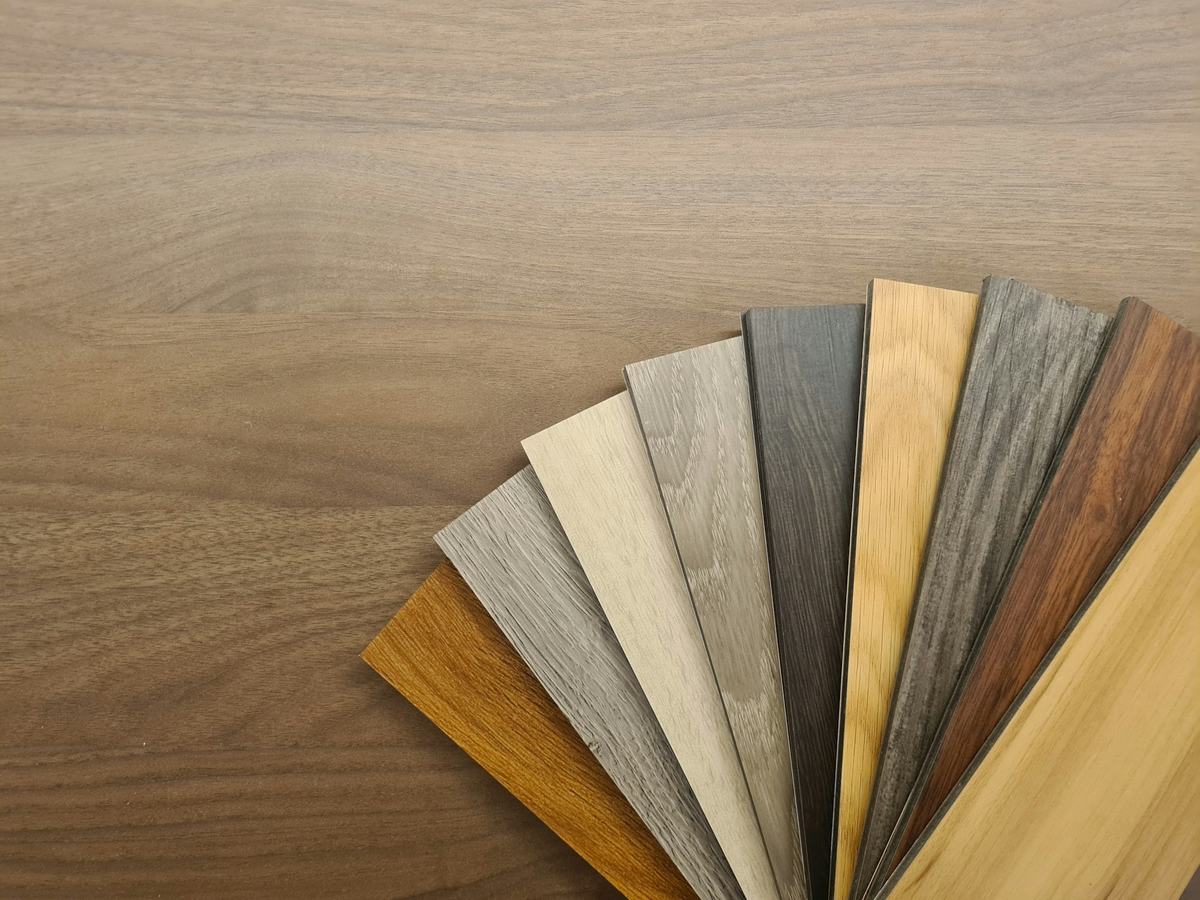
You choose the product. These are the decisions that change how the installation is built and how it looks.
Plank direction
Running planks along the longest wall or toward the main light source usually reads best. In connected rooms, one direction throughout avoids extra transitions.
Attached or separate underlayment
Many click-lock planks have a pad attached. Others need a separate underlayment, and some manufacturers prohibit adding one. We follow the product's instructions.
Baseboard or shoe molding
The expansion gap must be covered. Either existing baseboards are removed and reinstalled, new baseboards are installed, or shoe molding is added in front of baseboards left in place.
Transitions
Where LVP meets tile, carpet or a different floor height, the type of transition is chosen for the height difference and the look you want.
Scope boundaries
What is not included, and what we assess on site
These are the points most often left unsaid in an estimate. We would rather you read them here than discover them later.
Not included unless listed in your estimate
- The flooring product, underlayment and transition pieces, unless listed in your estimate
- Removal and disposal of existing flooring
- Grinding, patching, leveling or moisture mitigation of the substrate
- Baseboard removal, installation or painting
- Moving appliances, pianos, aquariums and similar heavy or delicate items
- Stairs, which are assessed and priced individually
Conditions we check before pricing
- Substrate flatness against the tolerance in your product's instructions
- Moisture conditions in concrete slabs
- Cracks, hollow spots or loose areas in existing floors
- Floor-height changes at exterior doors, appliances and adjoining rooms
- Large continuous areas that may need expansion breaks under the product's rules
- Condominium or association rules, including sound underlayment requirements
Public rates
What it costs to start the math
The installation rate is for labor and standard installation materials. If we purchase the flooring for you, enter its cost in the calculator as separately purchased finish material.
| Item | Public rate | Unit |
|---|---|---|
| Click-lock LVP installationInstallation only | $3.10 | per sq ft |
| Floating-floor removalPer square foot removed | $1.65 | per sq ft |
| Baseboard installationIncluding filling and caulking | $6.50 | per linear ft |
Rate version 2026-10-05.1. Standard complexity shown; Moderate is ×1.18 and Heavy is ×1.35. Preliminary only: final scope and pricing require a site assessment. Applicable taxes and assessed extras are not included.
Finish options and details
Images shown illustrate service and finish options.
Is the flooring itself included in the installation rate?
No. The public rate is for installation. Flooring, underlayment and transitions are purchased separately unless your written estimate explicitly includes them. If you would like us to purchase the flooring, the calculator shows how that is added.
Can LVP go over my existing tile?
Sometimes. It depends on the flooring manufacturer's instructions, how flat the tile is, how deep the grout joints are and what the added height does at doors and appliances. We check all four on site and tell you whether going over the tile is a sound option.
Why does floor flatness matter so much?
Click-lock joints are small and rely on the planks lying flat. Over humps and dips the joints are stressed every time someone walks on them, which can lead to gapping or broken locking edges. Manufacturers publish a flatness tolerance, and we check the floor against it.
Do baseboards have to come off?
The floor needs an expansion gap at the walls, and that gap needs covering. Removing and reinstalling baseboards gives the cleanest result. Where baseboards stay in place, shoe molding or quarter round covers the gap instead. We will show you both options.
How much extra flooring should I order?
It depends on the room shapes, plank size and layout. We give you a recommended order quantity after measuring, including an allowance for cuts and waste. Keep a few spare planks from the same production lot for future repairs.
Related services
Often scoped together
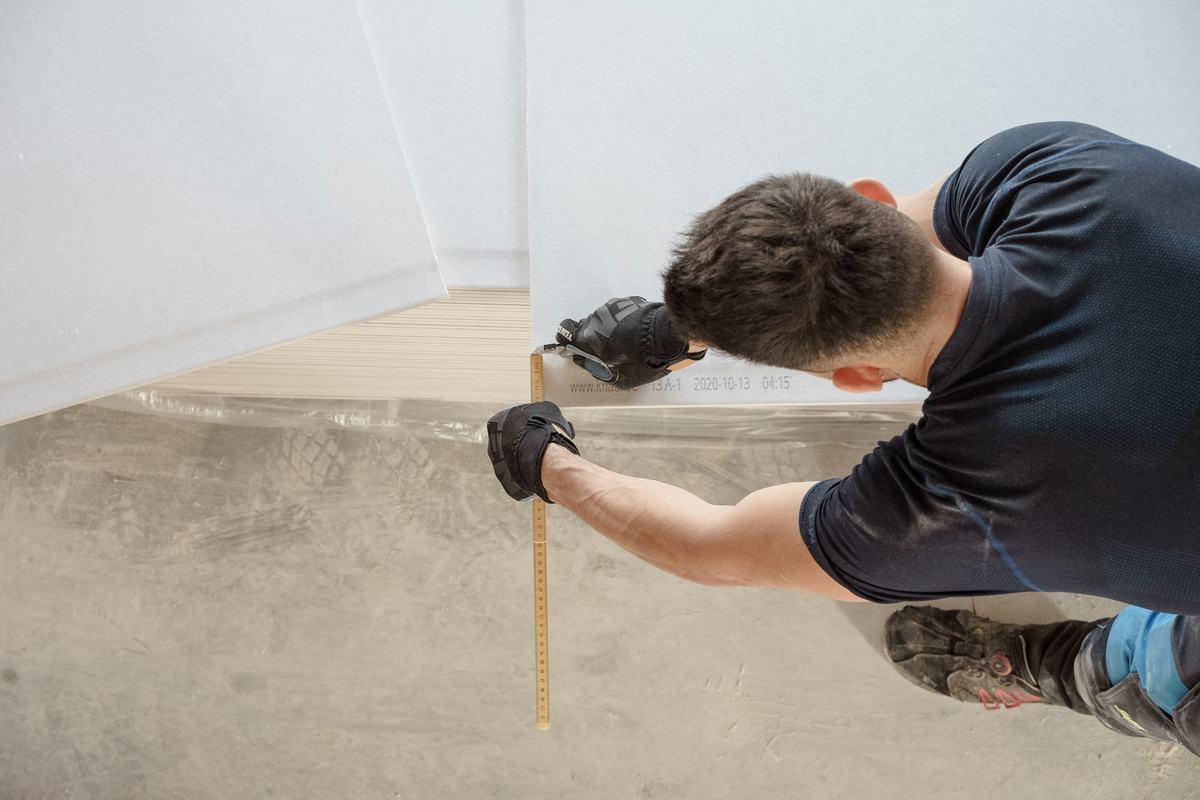
Floor Removal & Preparation
Floating floors removed, and the substrate cleaned, checked and made ready.
View service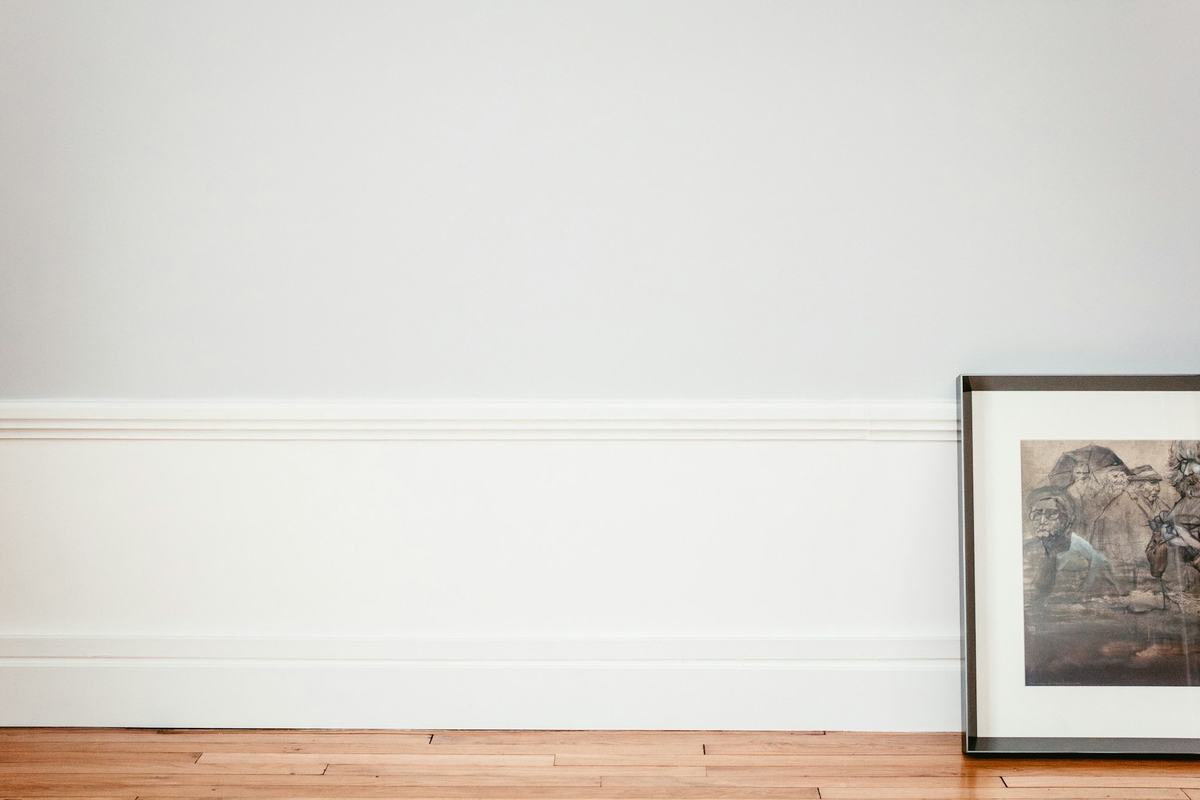
Baseboard Installation & Painting
Measured, cut, fastened, filled and caulked, then painted to a clean line.
View service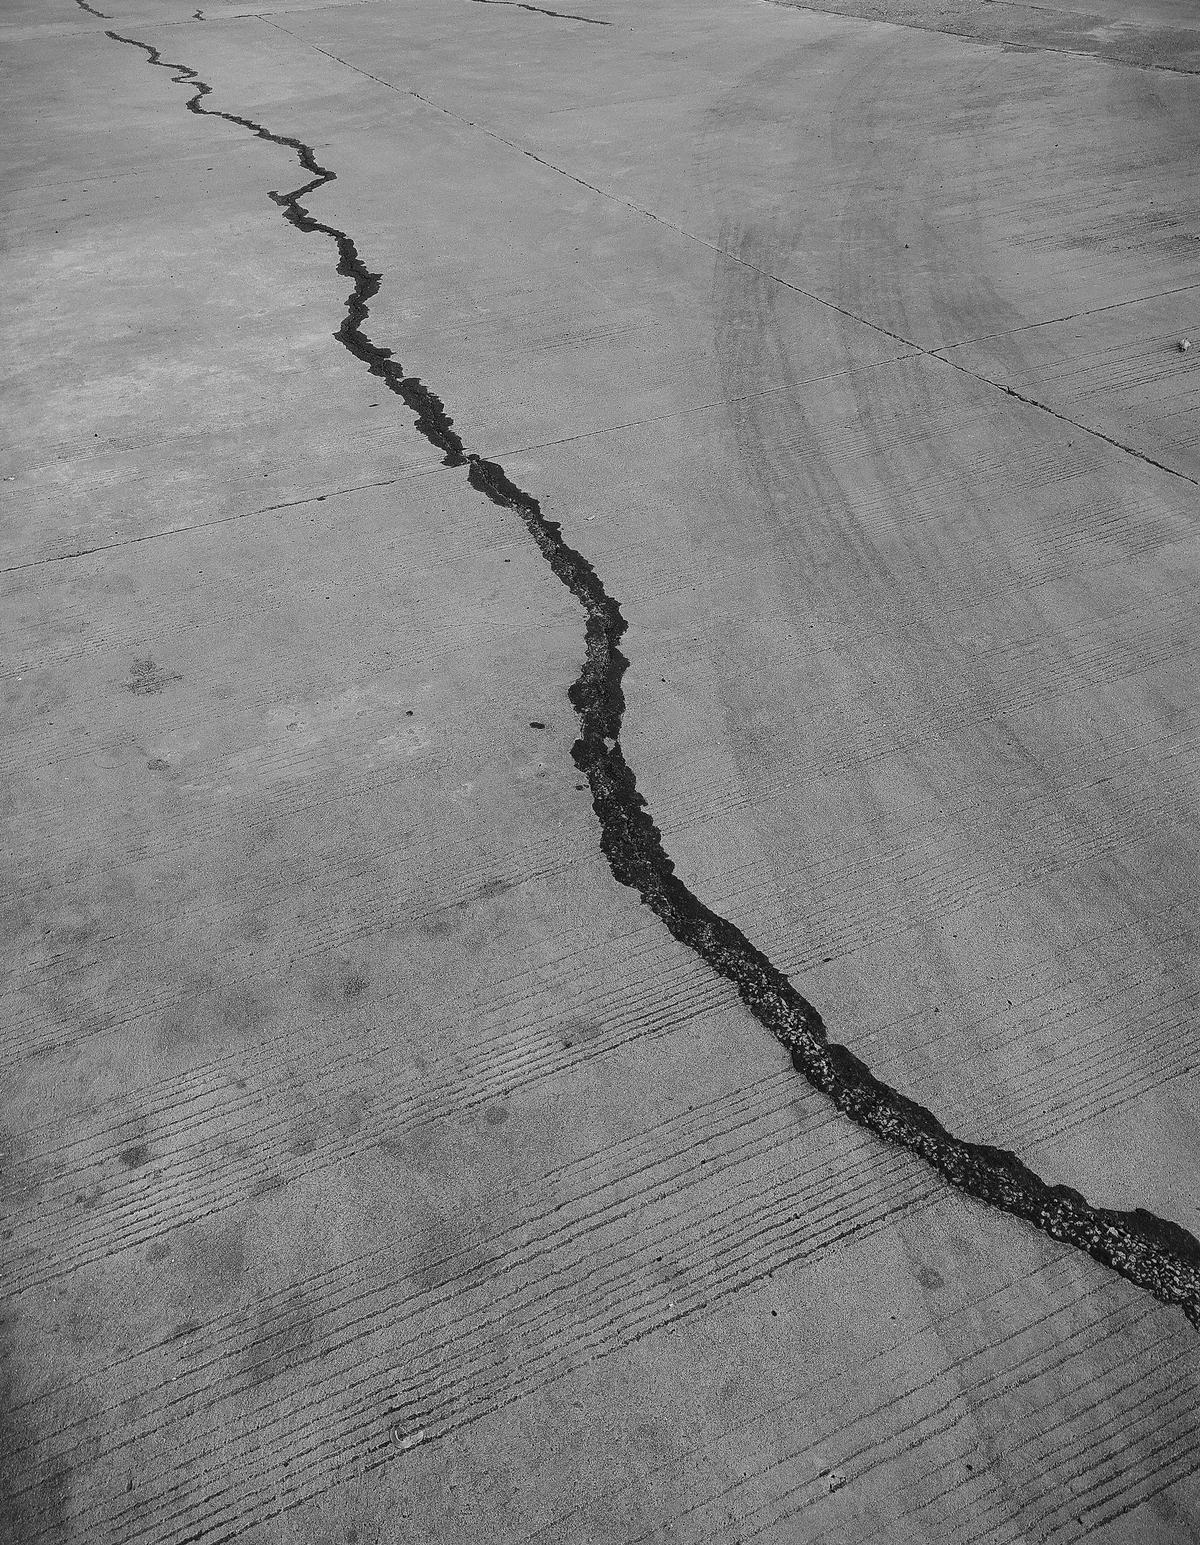
Concrete Repairs, Moisture Mitigation & Leveling
Cracks, old coatings, moisture and flatness dealt with before the finish goes down.
View serviceRequest an estimate
Ready to scope LVP flooring installation?
Send the rooms, surfaces and rough quantities you have. We reply to confirm a visit, assess the conditions on site, and give you a written scope and price before any work is scheduled.